Metering, the very basics.
Photo by: Guam Photographer Anthony Henri "Hank" Oftana
Metering, for our purpose,
basically means measuring the light that exists
and adjusting our camera accordingly so as
to expose the photo
in the way we wish to represent it.
Learn Photography with Anthony Henri "Hank" Oftana, Photo: By Hank Oftana
Most cameras will have several exposure modes:
Program
where the camera decides how to expose your scene
Aperture Priority
where you decide the aperture, and the camera chooses the other values
Shutter Speed Priority
where you decide the shutter speed and the camera chooses all the other values;
and finally,
Manual,
where you decide all the values.
Further, cameras will measure light in camera in different ways.
Evaluative metering analyzes the whole scene
Center-weighted metering measures 60% of the scene
Spot-metering measures a small part of the scene, anywhere from 1% to 5% of the scene.
Finally, I want to talk about ISO;
In my day, we referred to it as ASA. It's the sensor or film's sensitivity to light; the higher the number, the more sensitive to light, and the lower the number, the less sensitive to light. These days, you can automate ISO settings.
Why do I define it this way? If you place your camera in "P" Program mode, which my photographer friends jokingly refer to as 'Professional' mode, and you take a photo at the beach, your photo will be properly exposed 99% of the time.
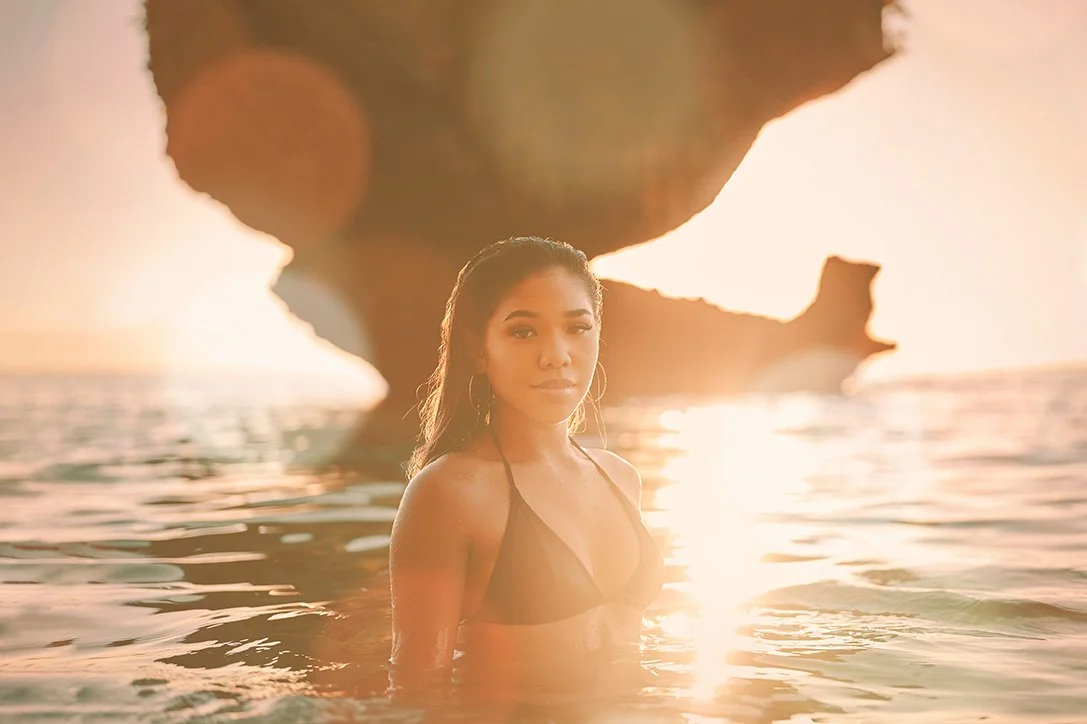
If you add a subject, you now add a challenge for the camera; if you also then rotate your subject in a manner so as to put them in front of the sun, you now have an even more challenging lighting situation.
You have a couple of options, turn again so the light hits the subject, and you've solved that problem, but what if you wish to light only the subject and don't care to expose the beach properly, or you want to leave your subject in shadow. This is why I say expose the way we wish to represent it; the camera won't ever know how we want to create the photo or what is more important to us, the subject, the background, both, or a variety of other things.
In the example mentioned above, I would bring either a reflector or artificial light, i.e., a strobe, to light my subject and expose both so we see both foreground and background well. I would go even further and shoot closer to sunset when the light isn't very harsh.
When we used handheld light meters, we measured light in two ways: reflective & incident light.
In reflective metering, we measured the light reflected from our subject, whereas in incident light metering, we measured the light falling onto our subject. The better way to meter was incident light metering, as we measured the light that fell precisely on our subject.
So now that we've gone through that let me explain what I use and why. I use Evaluative metering and will shoot in manual or aperture priority modes. I use manual mode because I prefer to control all aspects of the exposure process, and the camera will never know how I want my end photo to look. Sometimes, when I'm in a pinch and want 'extra' help, I'll shoot in Aperture Priority mode and keep my camera in auto ISO BUT limit the high end to 800 iso.
When I shoot with my strobe, I always shoot in manual mode for complete control! If you’re interested in a write-up about metering with a strobe, let me know!


